Make sure you check out Part 1 of this case study first. If you’re already up to date, let’s keep going.
Glute Med and Glute Max
Now, let’s see how arguably the most important hip stabilizer progressed over the course of this patient’s rehab. As discussed earlier, the initial activation starting point of the glute max was extremely low, 35 microvolts to be exact (video below). But don’t worry, things certainly improved!
Let’s start by looking at how the Neuromuscular Deficit Testing (NMDT) function demonstrated progress. This is an excellent function to use every 2-4 weeks to track progress. As expected, the glute max deficit steadily decreased as time went on.
Week 7 Glute Bridge Neuromuscular Deficit Test
Week 10 Glute Bridge Neuromuscular Deficit Test
Week 19 Glute Bridge Neuromuscular Deficit Test
At this time, the deficit had improved to 13%.
Week 21 Glute Bridge Neuromuscular Deficit Test
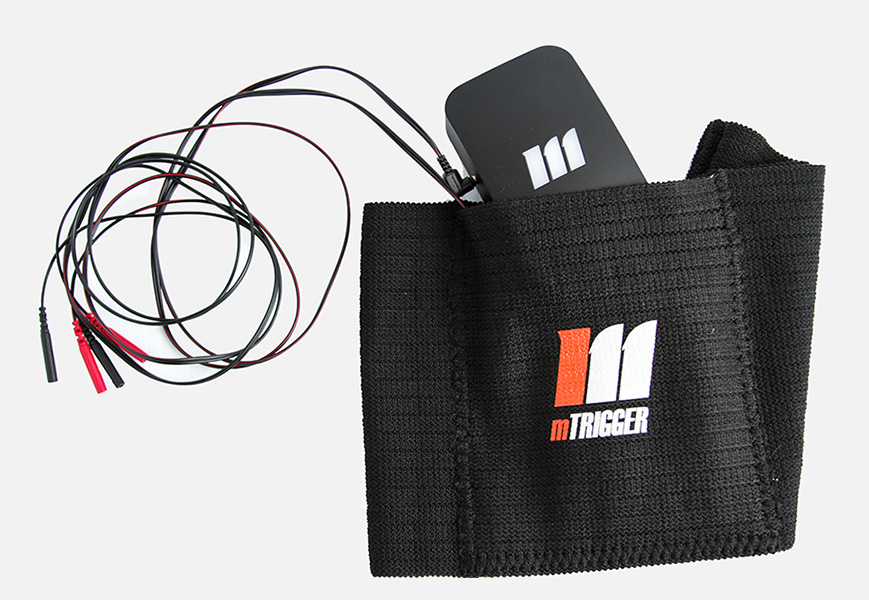
Aside from deficit testing regularly, we also used mTrigger biofeedback on the gluteus medius and gluteus maximus muscles during training. In this instance, biofeedback was key for helping to motivate the patient, to access the proper muscles, increase muscle activation, and see the slow and steady progress that occurred week to week.
Let’s look at how gluteus medius muscle activation during a side lying hip abduction exercise progressed each week.
Week 11 Hip Abduction (Column 1 – right)
Week 12 Hip Abduction (Column 1 – right)
Week 13 Hip Abduction (Column 1 – right)
Week 19 Hip Abduction (Column 1 – right)
How about one more example: the Fire Hydrant exercise targets glute med but in a different position. Because this position is “gravity lessened,” we see a greater ability to recruit the glut med muscle.
Week 10 Fire Hydrant (Column 1 – right)
Week 11 Fire Hydrant (Column 1 – right)
Week 12 Fire Hydrant (Column 1 – right)
Hamstrings and Deadlifts
Finally, let’s take a look at how biofeedback was used to optimize hamstring recovery following surgery. To start off, we worked on bilateral non-weight bearing exercises that targeted hamstring activation such as a Swissball hamstring curl. For only 7 weeks post op, we are seeing good muscle activation bilaterally with this exercise.
Next we moved on to Deadlifts. During the early phases of weight bearing, there is a very apparent weight shift off the R side during a simple bilateral limited range deadlift. Even with light weight, it is a was a challenging task for this patient.
Week 8 Deadlift
Over the following weeks, as pain and weight bearing tolerance improved, so did the muscle activation of the right hamstring and form during the deadlift exercise.
Week 11 Deadlift 15lbs (Column 1 – left/ Column 2 – right)
Week 16 Deadlift 20lbs (Column 1 – left/ Column 2 – right)
Notice the increase in left hamstring (left column) muscle activation as well? This indicates that as the weight used during the exercise increased, so did the muscular demand. This is good and expected. However, the discrepancy you still see between right and left side indicates a deficiency in hamstring strength on the right side as well as a continued weight shift off the surgical (right) side.
With the hamstrings, we progressed to single leg exercises once a prolonged single leg stance was tolerated, around week 18/20.
With the kickstand deadlift exercise, we used biofeedback to help increase hamstring muscle activation during the exercise as well as document the difference in muscle activation between right and left sides. Here is what we got.
Week 20 Left Kickstand Deadlift 20lbs (uninvolved)
Week 20 Right Kickstand Deadlift 20lbs (involved)
There is a slight difference between involved and uninvolved sides, but not bad.
Summary
Biofeedback is an easy and accessible tool everyone should be using in rehabilitation. Through the examples set forth in this case study, hopefully you can see the practical applications for using mTrigger biofeedback during all stages of rehab. The versatility of this tool allows for continual tracking of progress, promotion of learning, and patient engagement in the recovery process. When you really think about it, the progress you can track and the possibilities for improving muscle activation are almost endless.
CHECK OUT OUR DOWNLOADABLE 3-PHASE POST-OP HIP PROTOCOL HERE!
More Hip Exercises with Biofeedback
|
Learn to Use Biofeedback for Return to Sport
|


Leave A Comment